How to Bridge from Ethereum to Base
Moving your assets from Ethereum to Base can open up a whole new world of possibilities, and I’m excited to show you how. As a blockchain Lover, I've made this journey many times, and now I want to share this knowledge with you.
This guide will walk you through the process in simple terms, ensuring you can move your tokens smoothly. Let's get started and unlock new opportunities together!
Can I Bridge from Ethereum to Base?

Yes, you can bridge assets from Ethereum to Base! Base is an Ethereum Layer 2 (L2) solution built on Optimism, designed to provide faster and cheaper transactions while maintaining the security of the Ethereum network. Bridging allows you to transfer tokens seamlessly between Ethereum and Base, enabling you to take advantage of the benefits that Base offers.
Why Move to Base?
Moving to Base from another blockchain like Ethereum can offer several benefits depending on your needs and the specific features of the Base platform. Here are some compelling reasons why transitioning to Base might be advantageous:
1. Lower Transaction Fees
Ethereum gas fees can be expensive, especially during high network activity. Base significantly reduces transaction costs, allowing users to send tokens, interact with smart contracts, and trade on DEXs at a fraction of the cost. This makes it ideal for both everyday transactions and DeFi users looking to maximize their profits.
2. Faster Transaction Speeds
Ethereum’s network can process around 15 transactions per second (TPS), leading to congestion and delays. Base, as a Layer 2 solution, improves transaction throughput, ensuring faster confirmations and a smoother user experience.
3. Secured by Ethereum
Base is built on Ethereum’s Layer 2 scaling framework, meaning it inherits Ethereum’s security while offering better efficiency. This ensures your assets remain safe while benefiting from lower fees and higher speed.
4. Enhanced Scalability
By offloading transactions from Ethereum’s mainnet, Base helps reduce congestion and allows for a more scalable blockchain ecosystem. This means users can perform more transactions without worrying about network slowdowns or excessive costs.
5. Seamless Integration with Ethereum dApps
Base is designed to be fully compatible with Ethereum’s ecosystem, making it easy for users and developers to access decentralized applications (dApps), DeFi platforms, and NFT marketplaces without major changes. If you’re already using Ethereum-based applications, moving to Base provides a seamless transition with enhanced benefits.
Seamless Multi-Chain Transactions – No Bridging Needed
What if you could use your tokens across multiple chains without the hassle of bridging?
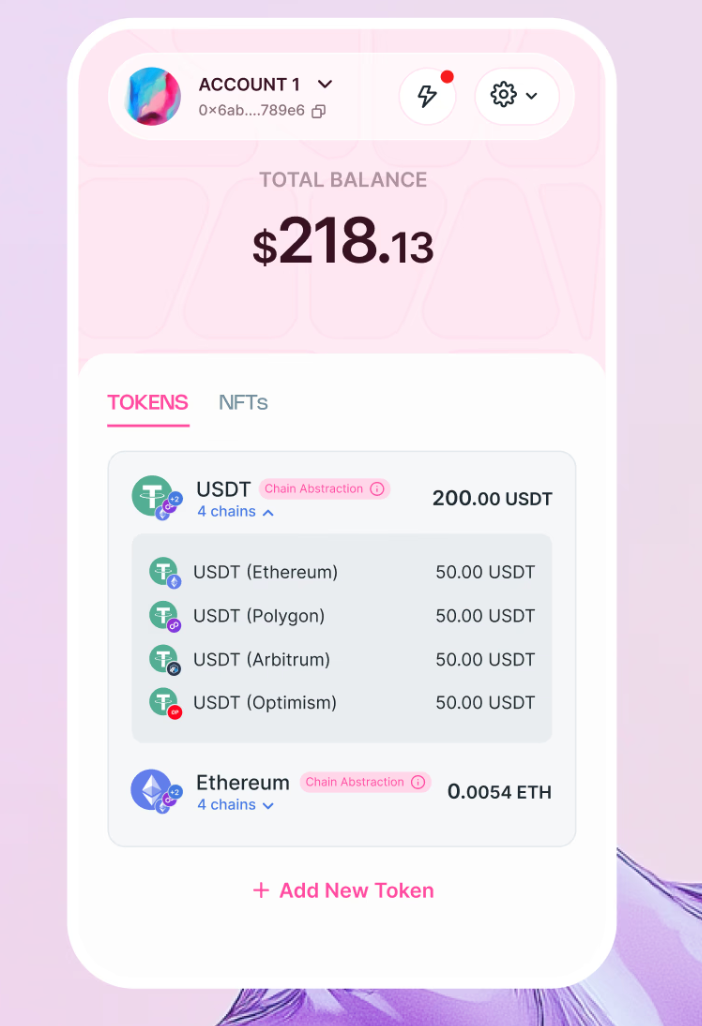
With Arcana Chain Abstraction, you get a unified wallet balance that works effortlessly across different networks—no manual bridging required.

Imagine you have 200 USDT in one digital wallet and 200 USDT in another. With Base, you can use all 400 USDT together without having to move them around.
Want to see how it works? Check out this video to see how the Arcana Wallet makes it happen!
Step-by-Step Guide to Bridge from Ethereum to Base
Step 1: Get Your Wallet Ready for Base
First, you need a wallet that works with both Ethereum and Base. You can use the Arcana Wallet for this.

What is Arcana Wallet? It's a special wallet where you can keep all your digital money in one place. It's easy because you don't have to move your money around different wallets.

Step 2: Pick a Bridge
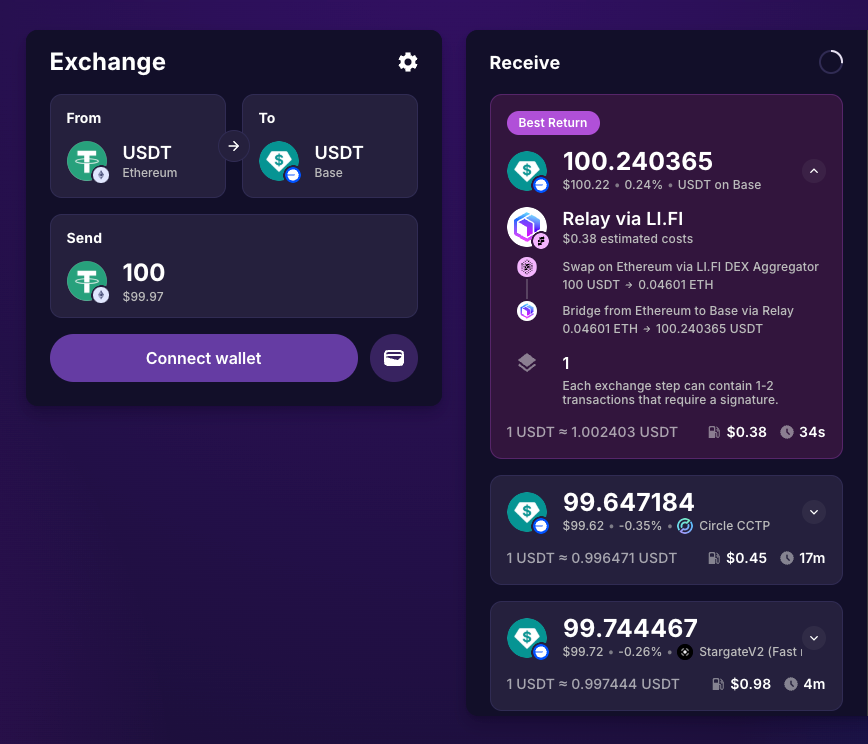
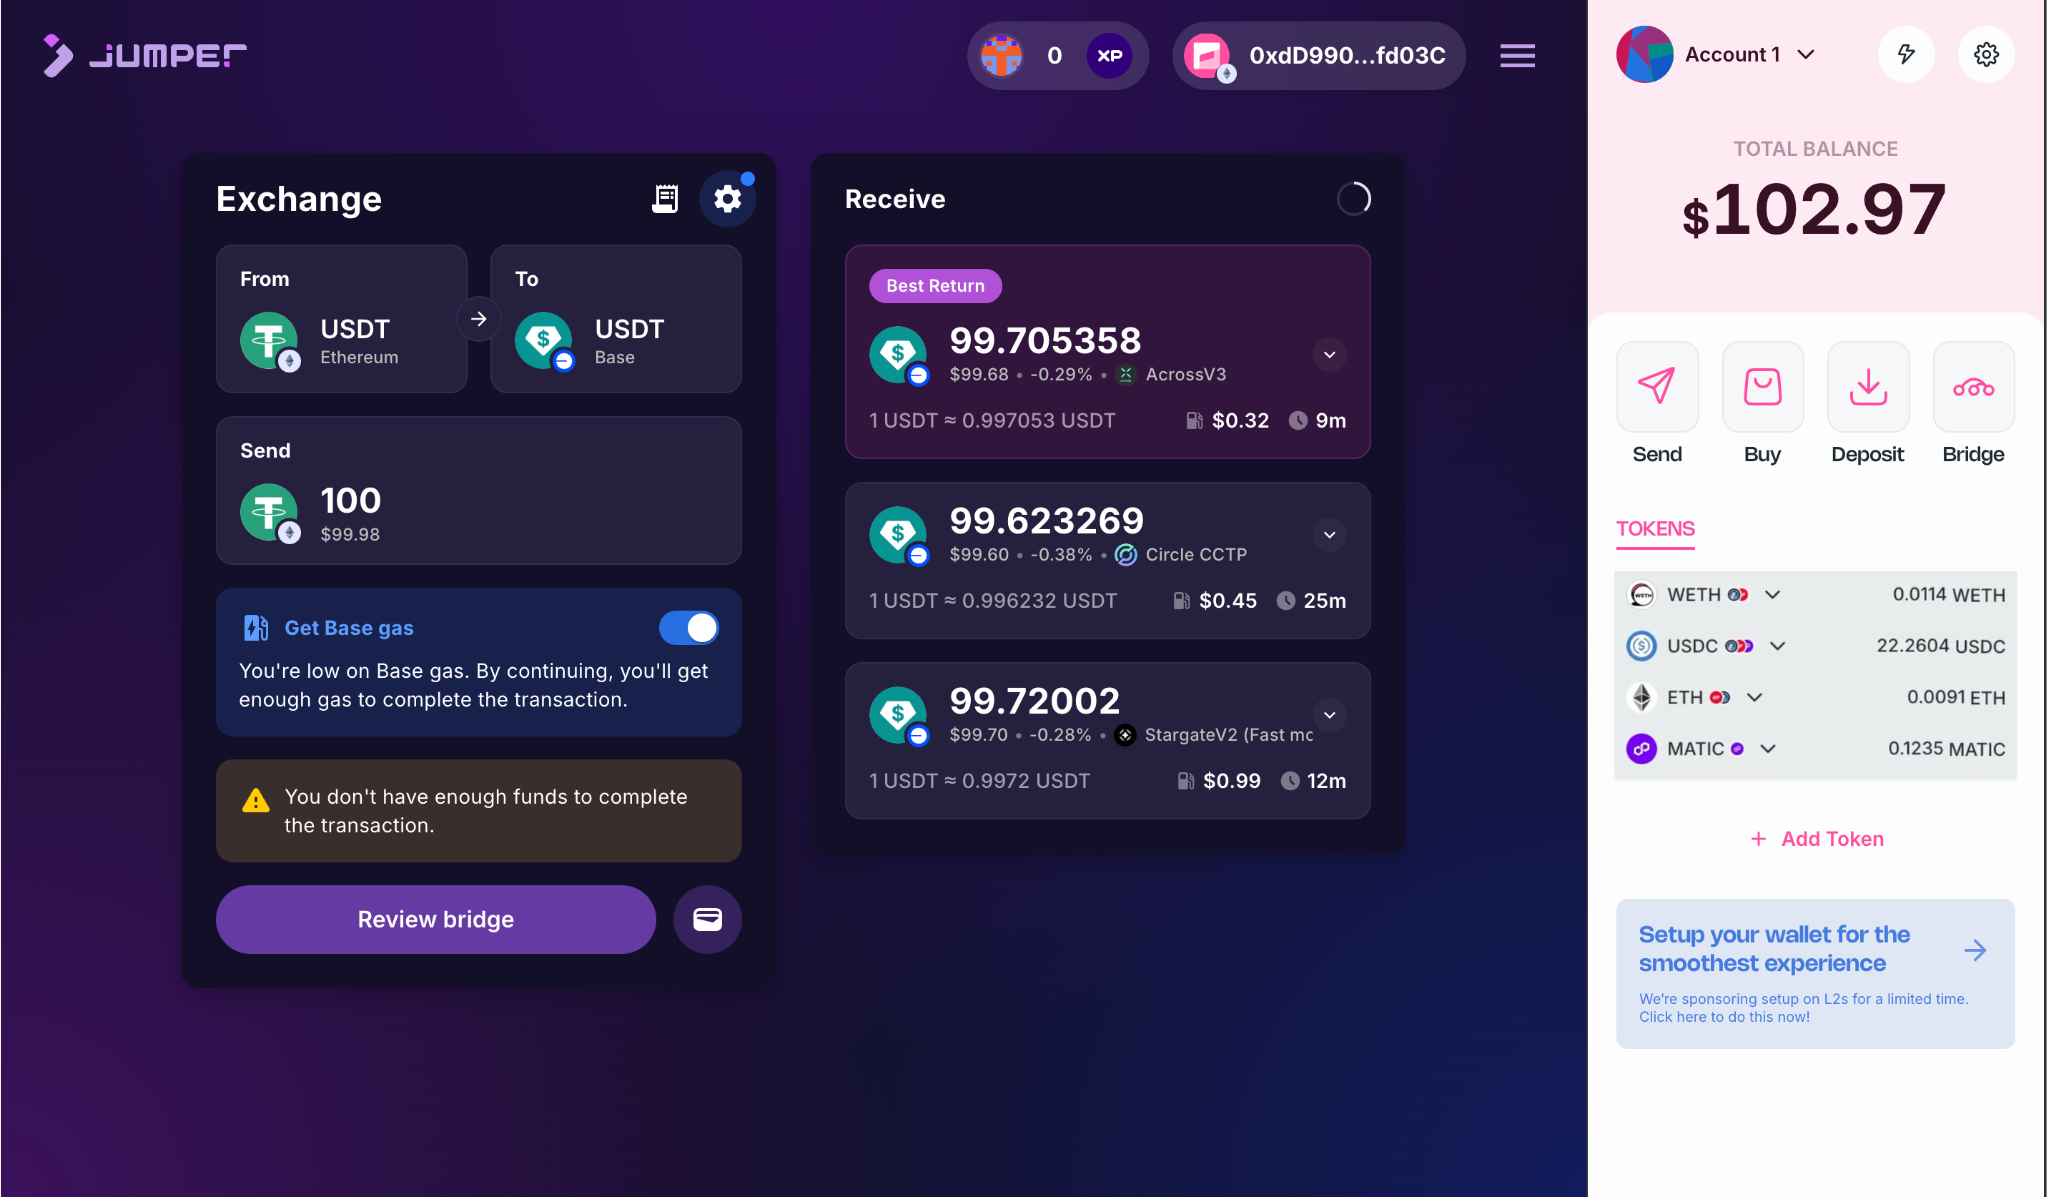
Now, you need to choose a bridge to send your tokens from Ethereum to Base. We’ll use something called Jumper Exchange with the help of Arcana.

Step 3: Connect To Your Wallet
After picking a bridge, here’s what to do:
- Go to the bridge’s website, for us it’s Jumper Exchange.
- Click on "Connect Wallet" and choose your wallet from the list.

Step 4: Choose the Token to Bridge
Pick the token you want to bridge, such as ETH, USDT, USDC, or other ERC-20 tokens. Before proceeding:
- Confirm that the bridge supports your selected token.
- Make sure you have enough ETH in your wallet to cover gas fees on the Ethereum network.
Step 5: Approve and Start the Bridge Transfer
After selecting the token and amount:
- Click Approve to allow the bridge to access your token.
- Pay a small gas fee in ETH for the approval process.
- Once approved, click Confirm to start the transfer.
- Wait for the transaction to be processed on Ethereum.
Step 6: Wait for Confirmation
The transfer usually takes a few minutes but may be longer during network congestion. You can track the progress directly on the bridge interface.
- Once completed, your assets will appear in your Base wallet.
- If the transfer is delayed, check your transaction status on Etherscan and BaseScan.
Step 7: Access Your Funds on Base
Once the bridging process is complete, ensure your tokens are visible in your Base wallet. If they don’t appear:
- Manually add the token by copying the contract address from BaseScan.
- In Arcana Wallet, click Import Tokens and paste the contract address.
Now, your assets are ready to use on the Base network, with faster transactions and lower fees!
A Seamless Alternative: Chain Abstraction
While bridging is a useful tool, it can often be a hassle—managing different wallets, waiting for confirmations, and dealing with fragmented liquidity. But what if bridging wasn’t a necessity, but just an option?
With Chain Abstraction, users can transact seamlessly across chains without the need to bridge, swap, or refuel gas. Arcana Network makes this possible through Arcana Wallet, the first chain abstraction-enabled EOA wallet, which unifies your USDT, USDC and ETH across chains and allows you to spend them effortlessly. Now, apps can also offer this experience by integrating Arcana’s Chain Abstraction SDK, enabling unified balances natively within their platforms.
Install Arcana Wallet: arcana.network/wallet
Demo the SDK: sdk.arcana.network/

